How to repair a leaking toilet flush valve?
Leave a message
Hey there! As a toilet supplier, I get a ton of questions about toilet maintenance. One of the most common issues folks face is a leaking toilet flush valve. It's a real pain in the you - know - what, but don't worry, I'm here to walk you through how to fix it.
Understanding the Toilet Flush Valve
First things first, let's talk about what a flush valve is and what it does. The flush valve is a crucial part of your toilet's tank. When you press that flush handle, the flush valve opens up, allowing water to rush from the tank into the bowl to clear out the waste. If it's leaking, it can lead to a constant drip - drip - drip sound and a significant waste of water over time.
There are a few reasons why a flush valve might start leaking. It could be due to a worn - out flapper, which is the rubber piece that seals the valve when the tank is full. Or, there could be debris stuck in the valve, preventing it from closing properly. Sometimes, the valve itself might be damaged or corroded.


Tools You'll Need
Before you start the repair, gather these tools. You'll need an adjustable wrench, a pair of pliers, a bucket, and a new flapper if that's the problem. It's a good idea to have some rags on hand to soak up any spilled water.
Step 1: Turn Off the Water Supply
The first step in any toilet repair is to turn off the water supply. You'll find a shut - off valve usually located on the wall behind the toilet. Turn it clockwise until it's fully closed. Then, flush the toilet to drain as much water as possible from the tank. Use the bucket to scoop out any remaining water. This will prevent a big mess when you start working on the flush valve.
Step 2: Inspect the Flapper
Once the tank is mostly empty, take a look at the flapper. It's the circular rubber piece that sits on top of the flush valve opening. Check for any signs of wear, like cracks or holes. If the flapper looks worn out, it's time to replace it. You can find a new flapper at your local hardware store or on our website. We offer a wide range of toilet parts, including high - quality flappers.
If the flapper looks okay, check for any debris that might be preventing it from sealing properly. Sometimes, small bits of dirt or sediment can get stuck under the flapper. Use a rag to clean the flapper and the valve opening. If the debris is stubborn, you can use a toothbrush to gently scrub it away.
Step 3: Check the Flush Valve Seal
The flush valve seal is another common culprit of leaks. It's located between the tank and the bowl. To check it, you need to remove the tank from the bowl. Start by disconnecting the water supply line from the tank using your adjustable wrench. Then, remove the nuts that hold the tank to the bowl. You might need to use pliers to loosen them if they're tight.
Lift the tank carefully and place it on a soft surface to avoid cracking it. Look at the seal between the tank and the bowl. If it's damaged or worn, you'll need to replace it. You can find a new seal at a hardware store or reach out to us as a toilet supplier, and we can help you get the right one.
Step 4: Examine the Flush Valve Assembly
If the flapper and the seal are okay, the problem might lie with the flush valve assembly itself. Check for any signs of damage, like cracks or corrosion. If you notice any issues, you'll likely need to replace the entire assembly.
To remove the old assembly, first, unscrew the locknut that holds it in place at the bottom of the tank. Once the locknut is off, you can lift out the old assembly. When installing the new one, make sure to follow the manufacturer's instructions carefully. Apply a thin layer of plumber's putty around the base of the new assembly before inserting it into the tank. Then, tighten the locknut securely.
Step 5: Reassemble the Toilet
Now that you've fixed or replaced the faulty parts, it's time to put the toilet back together. Start by placing the tank back on the bowl and lining up the holes for the bolts. Replace the nuts and tighten them, but be careful not to overtighten as it could crack the tank.
Reconnect the water supply line to the tank using your adjustable wrench. Turn the water supply back on and check for any leaks. Once you're sure there are no leaks, let the tank fill up completely. Then, give the toilet a flush to make sure everything is working properly.
Related Products
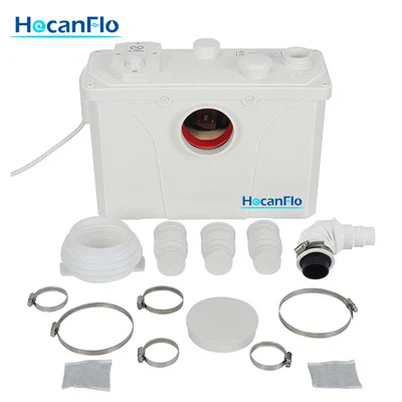
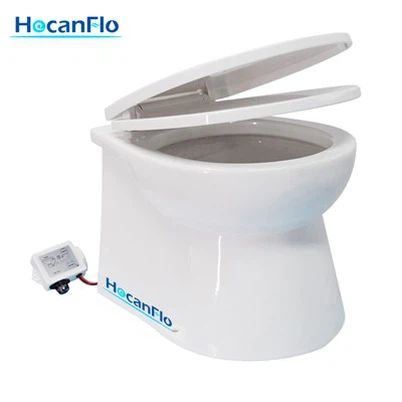
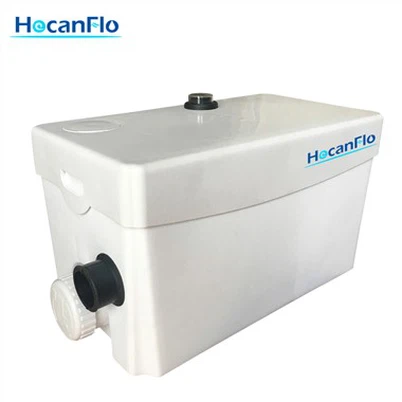
If you're in the market for a new toilet or need some high - quality toilet parts, we've got you covered. Check out our 12 Volt Macerator Toilet, which is perfect for small spaces or off - grid living. For those with boats, we offer a Manual Marine Head that's reliable and easy to use. And if you're looking for an eco - friendly option for your boat, take a look at our Best Composting Toilet For Boat.
Contact Us for Purchases
If you have any questions about these products or need help with your toilet repair, don't hesitate to reach out. We're here to assist you every step of the way. Whether you're looking to fix a leaking flush valve or upgrade your entire toilet system, we can provide the products and advice you need.
References
- "The Complete Guide to Toilet Repair", Home Improvement Magazine, 20XX.
- "DIY Toilet Maintenance", Handyman's Journal, 20XX.