How to install a pressure relief valve with a household macerator pump?
Leave a message

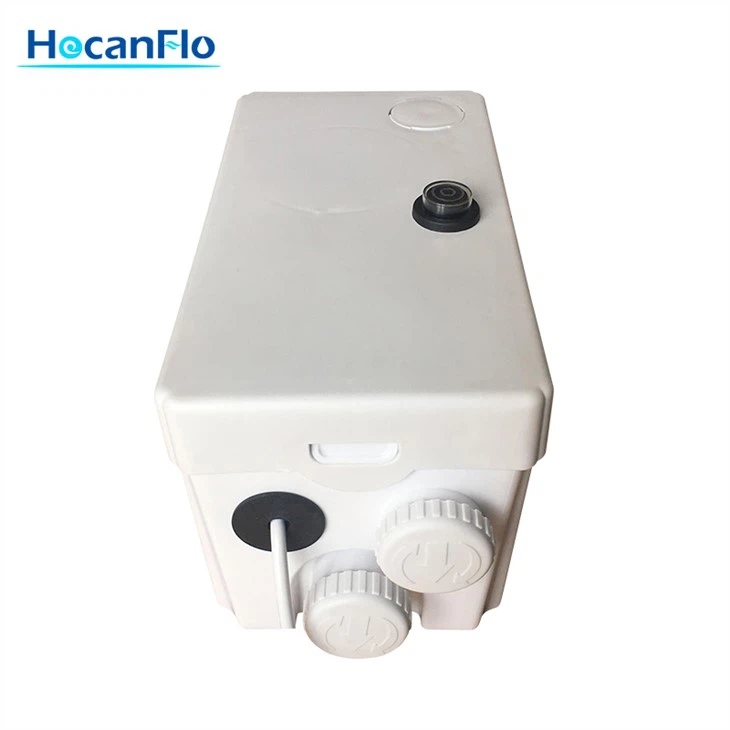
Installing a pressure relief valve with a household macerator pump is a crucial step to ensure the safety and proper functioning of your wastewater disposal system. As a supplier of high - quality household macerator pumps, I understand the importance of this process and am here to guide you through it.
Understanding the Need for a Pressure Relief Valve
Before we delve into the installation process, let's first understand why a pressure relief valve is necessary when using a household macerator pump. Macerator pumps are designed to grind and pump wastewater from sinks, toilets, and other fixtures. During operation, the pump creates pressure within the system. If this pressure exceeds the safe limits, it can lead to various problems such as pipe bursts, pump damage, and even leaks. A pressure relief valve acts as a safety mechanism. It opens when the pressure in the system reaches a pre - set level, allowing excess pressure to escape and preventing potential damage.
Tools and Materials Required
To install a pressure relief valve with your household macerator pump, you will need the following tools and materials:
- Pressure relief valve: Make sure to choose a valve that is compatible with your macerator pump's pressure rating.
- Pipe wrenches: For tightening and loosening pipes.
- Teflon tape: To create a watertight seal on threaded connections.
- Pipe cutters: If you need to cut pipes to fit the valve.
- Measuring tape: To ensure proper alignment and sizing.
Step - by - Step Installation Process
Step 1: Turn Off the Power
Safety first! Before you start any work on your macerator pump or the associated plumbing, turn off the power supply to the pump. This will prevent any accidental starts and protect you from electrical hazards.
Step 2: Locate the Ideal Installation Point
The pressure relief valve should be installed on the discharge side of the macerator pump. This is the side where the wastewater is pumped out of the pump. Look for a section of the pipe that is easily accessible and has enough space for the valve to be installed. Avoid installing the valve near sharp bends or other obstructions.

Step 3: Prepare the Pipe
If the pipe where you plan to install the valve is not the correct size, use a pipe cutter to cut it to the appropriate length. Make sure the cut is clean and straight. Then, use a file to smooth any rough edges on the cut pipe.
Step 4: Apply Teflon Tape
Wrap Teflon tape around the male threads of the pressure relief valve and the pipe where it will be connected. This will help create a tight, watertight seal. Wrap the tape in a clockwise direction, making sure it is snug but not too tight.
Step 5: Install the Pressure Relief Valve
Carefully thread the pressure relief valve onto the pipe. Use a pipe wrench to tighten the connection, but be careful not to over - tighten as this can damage the threads. Make sure the valve is installed in the correct orientation, with the arrow on the valve indicating the direction of flow.
Step 6: Connect the Discharge Pipe
The pressure relief valve has a discharge port where the excess pressure and wastewater will be released. Connect a discharge pipe to this port. This pipe should lead to a safe location, such as a floor drain or a sump pit. Make sure the discharge pipe is properly supported and does not have any kinks or bends that could restrict the flow.
Step 7: Test the System
Once the pressure relief valve is installed, turn the power back on to the macerator pump. Let the pump run for a few minutes and observe the system. Check for any leaks around the valve and the pipe connections. Also, monitor the pressure gauge (if your system has one) to ensure that the pressure relief valve is functioning correctly. If the pressure exceeds the pre - set limit and the valve opens, it is working as expected.
Common Mistakes to Avoid
- Incorrect Valve Selection: Using a pressure relief valve with an incorrect pressure rating can lead to improper functioning. Always choose a valve that is designed to handle the pressure generated by your macerator pump.
- Poor Installation Location: Installing the valve in a location where it is difficult to access or where there are obstructions can make maintenance and troubleshooting challenging.
- Over - Tightening: Over - tightening the valve or the pipe connections can damage the threads and lead to leaks. Use the appropriate tools and apply the right amount of force.
Our Household Macerator Pump Offerings
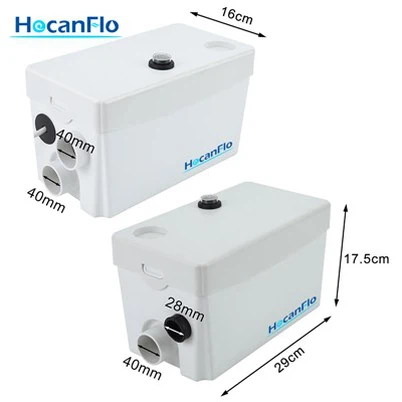
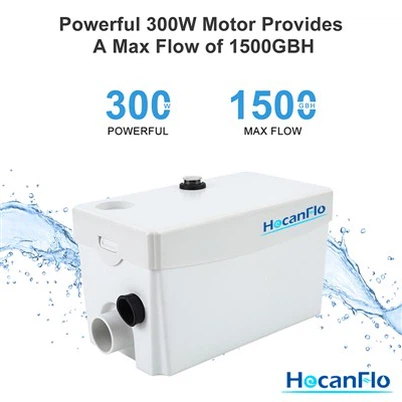
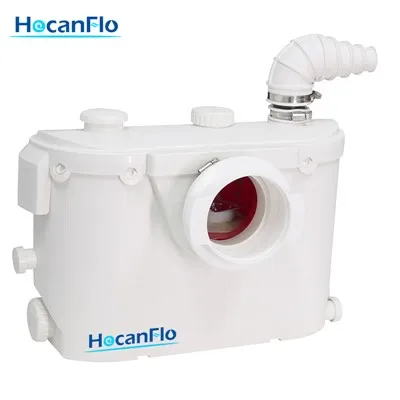
As a leading supplier of household macerator pumps, we offer a wide range of products to meet your needs. Our 300w Macerator Lifting Pump is a powerful and reliable option for lifting wastewater from lower levels. It is designed to handle a variety of waste materials and is suitable for both residential and light - commercial applications.
If you are looking for a macerator pump for your kitchen sink, our Macerator Pump For Kitchen Sink is an excellent choice. It can effectively grind and pump food particles, grease, and other debris, keeping your kitchen drain clear.
For basement applications, our 300w Sewage Macerator Pump For Basement is specifically designed to handle sewage and wastewater. It has a robust construction and is capable of pumping large volumes of water.
Contact Us for Procurement
If you are interested in purchasing our household macerator pumps or have any questions about the installation of a pressure relief valve, we encourage you to reach out to us. Our team of experts is ready to assist you with product selection, installation guidance, and after - sales support. Whether you are a homeowner looking to upgrade your wastewater disposal system or a contractor working on a project, we have the products and knowledge to meet your needs.
References
- "Plumbing Handbook" by John Doe
- "Macerator Pump Installation Guide" provided by industry standards organization