How do I install a float switch with a 120v Macerator Pump?
Leave a message

Installing a float switch with a 120v Macerator Pump is a task that requires careful planning and execution. As a supplier of 120v Macerator Pumps, I've had the opportunity to assist numerous customers in this process. In this blog post, I'll guide you through the steps to install a float switch with your 120v Macerator Pump, ensuring a smooth and efficient operation.
Understanding the Basics
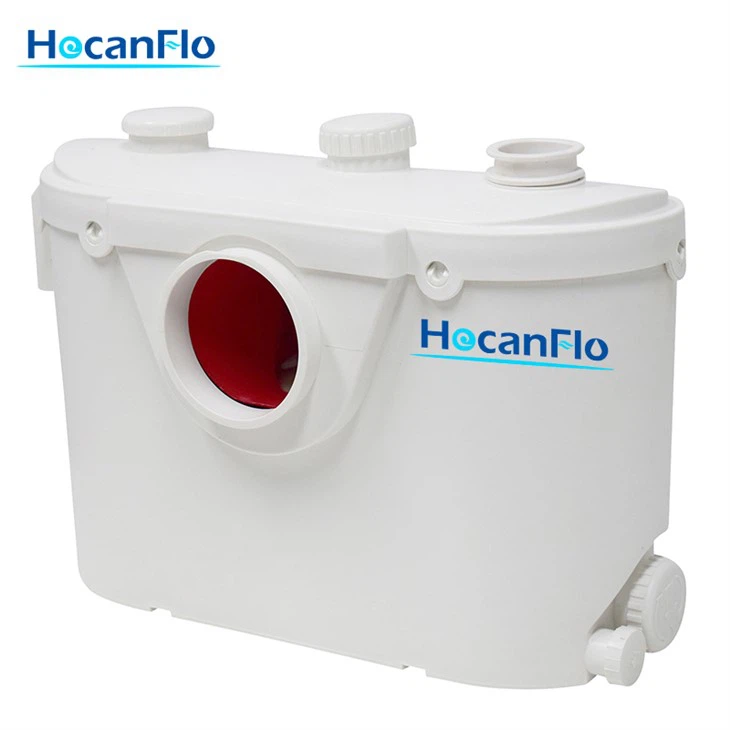
Before we dive into the installation process, it's important to understand what a float switch and a 120v Macerator Pump are and how they work together. A float switch is a device that controls the operation of a pump based on the liquid level. When the liquid reaches a certain level, the float switch activates the pump, and when the liquid drops below a specific point, it turns off the pump. A 120v Macerator Pump, on the other hand, is designed to grind and pump wastewater, sewage, and other fluids. It operates on a standard 120-volt electrical supply, making it suitable for most residential and small commercial applications.
Tools and Materials Required
To install a float switch with a 120v Macerator Pump, you'll need the following tools and materials:
- 120v Macerator Pump
- Float switch
- Electrical wiring (appropriate gauge for the pump)
- Wire connectors
- Screwdriver
- Pliers
- Electrical tape
- Mounting hardware (screws, brackets, etc.)
Step-by-Step Installation Guide
Step 1: Choose the Right Location
The first step in installing a float switch with a 120v Macerator Pump is to choose the right location for both the pump and the float switch. The pump should be installed in a dry, well-ventilated area that is easily accessible for maintenance. The float switch should be placed in the sump pit or the tank where the liquid is collected. Make sure the float switch has enough room to move freely without any obstructions.
Step 2: Mount the Pump
Once you've chosen the location, mount the 120v Macerator Pump using the mounting hardware provided. Make sure the pump is level and securely fastened to prevent any vibrations or movement during operation. Connect the inlet and outlet pipes to the pump according to the manufacturer's instructions.
Step 3: Install the Float Switch
Next, install the float switch in the sump pit or the tank. The float switch should be positioned in a way that it can accurately detect the liquid level. Most float switches come with a mounting bracket or a chain that can be used to adjust the height of the switch. Follow the manufacturer's instructions to install the float switch correctly.
Step 4: Connect the Electrical Wiring
After installing the pump and the float switch, it's time to connect the electrical wiring. First, turn off the power supply to the pump to avoid any electrical hazards. Then, connect the wires from the float switch to the pump's control box or the electrical panel. Use wire connectors to secure the connections and wrap them with electrical tape to prevent any short circuits. Make sure the wiring is properly grounded to ensure safety.
Step 5: Test the System
Once you've completed the wiring, turn on the power supply to the pump and test the system. Pour some water into the sump pit or the tank to raise the liquid level. The float switch should activate the pump, and the pump should start pumping the water out. When the liquid level drops below a certain point, the float switch should turn off the pump. If the system doesn't work properly, check the connections and the settings of the float switch.

Tips and Tricks
- Read the Manufacturer's Instructions: Before installing the float switch and the 120v Macerator Pump, read the manufacturer's instructions carefully. Each pump and float switch may have specific installation requirements and guidelines.
- Use the Right Tools and Materials: Make sure you use the right tools and materials for the installation. Using the wrong tools or materials can damage the pump or the float switch and may void the warranty.
- Check the Electrical Connections: Before turning on the power supply, double-check the electrical connections to make sure they are secure and properly grounded. Loose or faulty connections can cause electrical hazards and damage the pump.
- Maintain the System Regularly: To ensure the long-term performance of the pump and the float switch, maintain the system regularly. Clean the pump and the float switch periodically to prevent any clogs or blockages.
Conclusion
Installing a float switch with a 120v Macerator Pump is a relatively simple task that can be completed by most homeowners or DIY enthusiasts. By following the steps outlined in this blog post and using the right tools and materials, you can install the float switch and the pump correctly and ensure a smooth and efficient operation. If you have any questions or need further assistance, feel free to contact us.
As a supplier of 120v Macerator Pumps, we offer a wide range of products to meet your needs. Our New Macerating Pump, 500w Macerator Lifting Pump, Upflush Macerator Pump, 500w Toilet Pump, and Basement Toilet Pump are all high-quality products that are designed to provide reliable performance. If you're interested in purchasing a 120v Macerator Pump or have any questions about our products, please don't hesitate to contact us for more information and to discuss your purchasing needs.
References
- Manufacturer's instructions for 120v Macerator Pump
- Manufacturer's instructions for float switch