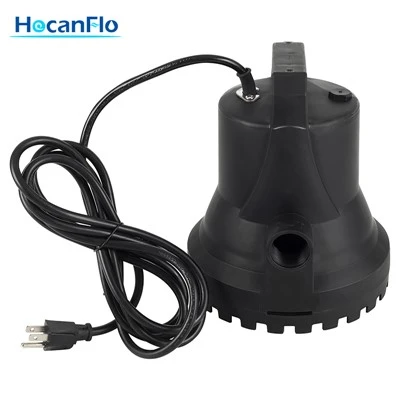
How to install a check valve for a 700w Macerator Pump?
Leave a message

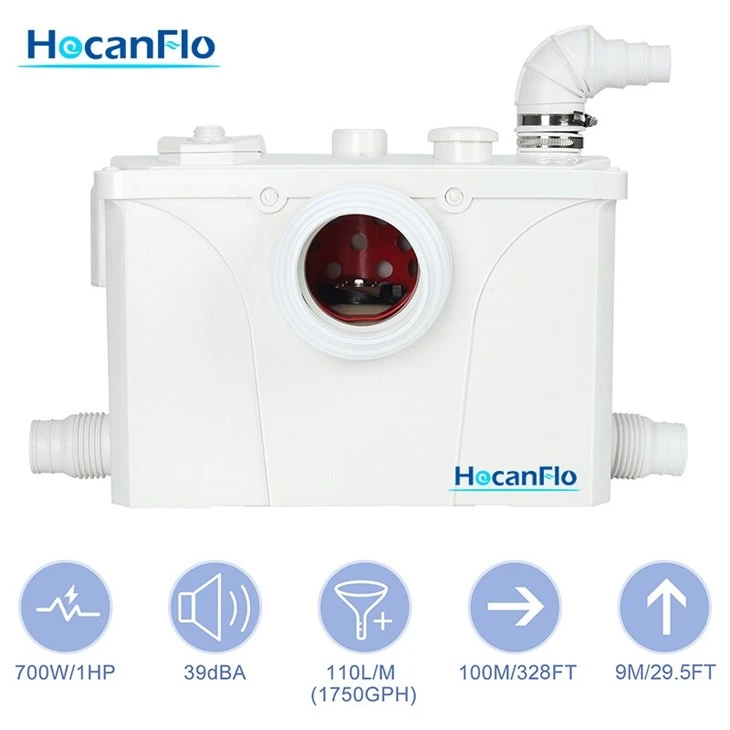
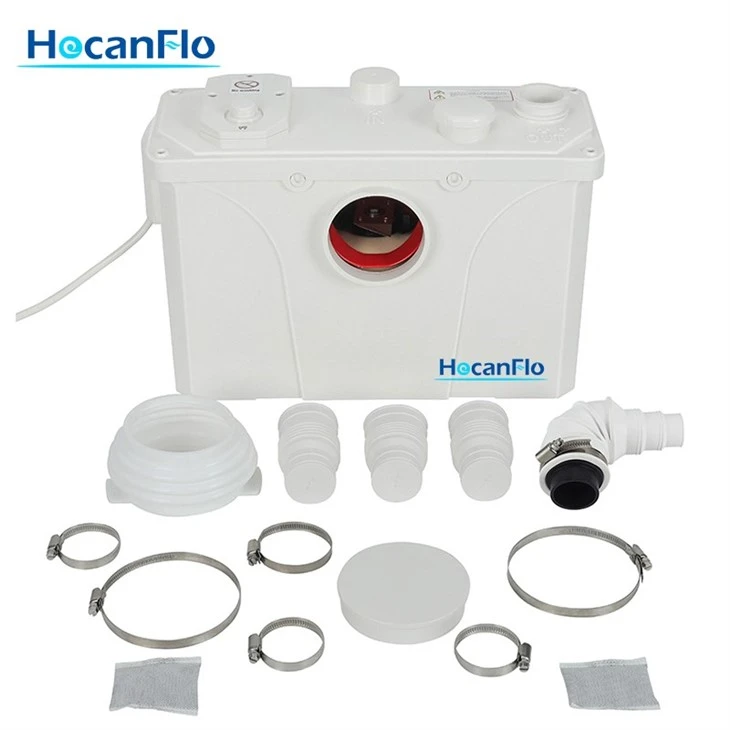
Installing a check valve for a 700w Macerator Pump is a crucial step that can significantly enhance the performance and longevity of your pump. As a 700w Macerator Pump supplier, I've seen firsthand how a properly installed check valve can make a world of difference. So, let's dive into how you can install one yourself.
Why You Need a Check Valve for Your 700w Macerator Pump
Before we start with the installation process, it's important to understand why a check valve is so essential. A check valve allows fluid to flow in only one direction. In the case of a 700w Macerator Pump, this means preventing backflow. Backflow can cause a whole host of issues, like reducing the efficiency of the pump, increasing wear and tear, and even leading to pump failure over time. By installing a check valve, you're protecting your investment and ensuring that your pump works as it should.
Tools and Materials You'll Need
To install a check valve for your 700w Macerator Pump, you'll need a few basic tools and materials. Here's a quick list:
- A suitable check valve for your 700w Macerator Pump. Make sure it's compatible with the pump's specifications.
- Pipe wrenches or adjustable wrenches, depending on the size of the pipes.
- Teflon tape to create a watertight seal on the pipe threads.
- Safety goggles and gloves to protect yourself during the installation process.
Step-by-Step Installation Guide
Step 1: Turn Off the Power
Safety first! Before you start working on your 700w Macerator Pump, make sure to turn off the power supply. This will prevent any accidental starts that could cause injury. You can usually find the power switch near the pump or on the main electrical panel.
Step 2: Locate the Discharge Pipe
The next step is to find the discharge pipe of your 700w Macerator Pump. This is the pipe through which the pumped fluid exits the pump. It's usually connected to the top or side of the pump. Once you've located the discharge pipe, mark the spot where you'll install the check valve. It's best to install the check valve as close to the pump as possible to minimize the risk of backflow.
Step 3: Prepare the Pipe
Before installing the check valve, you need to prepare the pipe. Start by cleaning the pipe threads with a wire brush to remove any dirt, debris, or old Teflon tape. Then, wrap the pipe threads with Teflon tape in a clockwise direction. Make sure to cover the threads completely but don't wrap the tape too tightly, as this can cause the threads to strip.
Step 4: Install the Check Valve
Now it's time to install the check valve. Take the check valve and align it with the marked spot on the discharge pipe. Make sure the arrow on the check valve is pointing in the direction of the fluid flow. Once the check valve is properly aligned, hand-tighten it onto the pipe threads. Then, use a pipe wrench or adjustable wrench to tighten the valve further. Be careful not to over-tighten, as this can damage the valve or the pipe.
Step 5: Connect the Remaining Pipes
After installing the check valve, you need to connect the remaining pipes. If you have additional pipes or fittings, repeat the process of cleaning the threads, wrapping them with Teflon tape, and tightening them onto the check valve or other pipes. Make sure all the connections are tight and leak-free.
Step 6: Test the System
Once you've installed the check valve and connected all the pipes, it's time to test the system. Turn on the power to the 700w Macerator Pump and let it run for a few minutes. Check for any leaks around the check valve and all the pipe connections. If you notice any leaks, turn off the power and tighten the connections further.
Complementary Products for Your 700w Macerator Pump
As a 700w Macerator Pump supplier, I also want to introduce you to some complementary products that can work well with your pump.
- High Pressure Shower Pump: This pump can provide a strong and consistent water flow for your shower, especially if you have low water pressure.
- Sewage Ejector Pump: Ideal for handling sewage and wastewater, this pump can work in tandem with your 700w Macerator Pump to ensure efficient drainage.
- Water Pressure Pump For Bathroom Shower: If you want to enjoy a more powerful shower in your bathroom, this pump can boost the water pressure and give you a better shower experience.
- Small Grinder Pump: A great option for grinding solid waste and preventing clogs in your plumbing system.
- Under Sink Grinder Pump: This pump is designed to be installed under the sink, making it a convenient solution for disposing of food waste and other debris.
Conclusion and Call to Action
Installing a check valve for your 700w Macerator Pump is a straightforward process that can have a big impact on the performance and lifespan of your pump. By following the steps outlined in this blog post, you can ensure that your pump operates smoothly and efficiently.
If you're interested in purchasing a 700w Macerator Pump or any of the complementary products mentioned above, or if you have any questions about the installation process, don't hesitate to reach out. We're here to help you find the best solutions for your needs.
References
- General knowledge about pump installation and operation
- Manufacturer's instructions for 700w Macerator Pump and check valves