How to connect a powerful macerating pump to the plumbing system?
Leave a message
Hey there! As a supplier of powerful macerating pumps, I often get asked about how to connect these pumps to the plumbing system. It might seem like a daunting task, but with the right guidance, it can be a smooth process. In this blog, I'll walk you through the steps of connecting a powerful macerating pump to your plumbing system.
Understanding the Macerating Pump
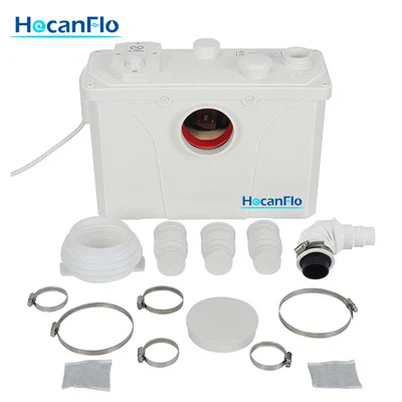
First things first, let's talk a bit about what a macerating pump is. A macerating pump is a type of pump that's designed to break down solid waste into small particles and then pump it through a plumbing system. It's super useful in situations where you can't rely on gravity to move waste, like in basements or other low - lying areas.


Our powerful macerating pumps are built to last and can handle a lot of tough jobs. They're made with high - quality materials and advanced technology to ensure efficient and reliable operation.
Tools and Materials You'll Need
Before you start the connection process, you'll need to gather some tools and materials. Here's a list of what you'll typically need:
- Pipe wrenches
- Screwdrivers (both flat - head and Phillips)
- Pipe cutters
- Teflon tape
- Pipes and fittings (make sure they're the right size for your pump)
- Electrical wire and connectors
- A power source (like a grounded electrical outlet)
Step 1: Choose the Right Location
The first step in connecting your macerating pump is to choose the right location. You want to place the pump close to the source of the waste, like a toilet, shower, or sink. It should also be in an area that's easily accessible for maintenance and repairs.
Make sure the surface where you'll be installing the pump is level and sturdy. You don't want the pump to vibrate or move around during operation, as this can cause damage to the pump and the plumbing system.
Step 2: Prepare the Plumbing System
Once you've chosen the location, it's time to prepare the plumbing system. Start by shutting off the water supply to the fixtures that will be connected to the pump. This will prevent any water from flowing while you're making the connections.
Next, use the pipe cutters to cut the pipes where you'll be connecting the pump. Make sure the cuts are clean and straight. You can then use the Teflon tape to seal the threads of the pipes and fittings. This will prevent any leaks from occurring.
Step 3: Connect the Inlet Pipes
Now it's time to connect the inlet pipes to the pump. The inlet pipes are the ones that will carry the waste from the fixtures to the pump. You'll typically have one or more inlet pipes, depending on how many fixtures you're connecting.
Use the pipe wrenches to tighten the connections between the inlet pipes and the pump. Make sure they're snug, but don't over - tighten them, as this can damage the pipes or the pump.
Step 4: Connect the Outlet Pipe
After connecting the inlet pipes, you'll need to connect the outlet pipe. The outlet pipe is the one that will carry the macerated waste away from the pump and into the main plumbing system.
Again, use the pipe wrenches to tighten the connection between the outlet pipe and the pump. You may also need to connect the outlet pipe to the main sewer line or septic tank. Make sure the connection is secure and that there are no leaks.
Step 5: Electrical Connection
The next step is to make the electrical connection. Before you start working on the electrical part, make sure you turn off the power at the breaker box. This will prevent any electrical shocks.
Use the electrical wire and connectors to connect the pump to a grounded electrical outlet. Follow the manufacturer's instructions carefully when making the electrical connections. Once the connections are made, turn the power back on at the breaker box and test the pump.
Step 6: Test the Pump
After making all the connections, it's time to test the pump. Turn on the water supply to the fixtures and let the waste flow into the pump. The pump should start automatically and begin macerating the waste.
Check for any leaks around the connections. If you notice any leaks, turn off the pump and the water supply, and tighten the connections as needed.
Additional Tips
- Maintenance: Regular maintenance is key to keeping your macerating pump in good working condition. Make sure to clean the pump and the pipes regularly to prevent clogs.
- Compatibility: Make sure the pipes and fittings you're using are compatible with your pump. Using the wrong size or type of pipes can cause problems.
Related Products
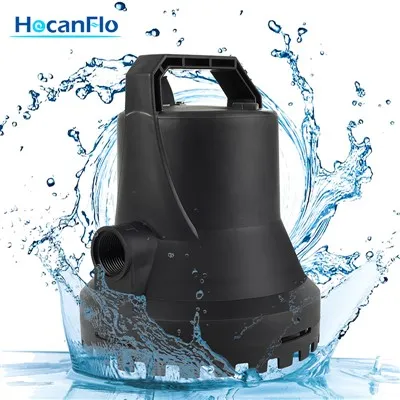
If you're interested in other types of pumps, we also offer some great options. Check out our Water Pressure Pump For Shower, Positive Head Shower Pump, and Toilet Shower Bath Sink Wc Sanitary Pump. These pumps are designed to provide reliable performance and are a great addition to any plumbing system.
Contact Us for Purchase
If you're looking to purchase a powerful macerating pump or any of our other products, we'd love to hear from you. We offer high - quality products at competitive prices, and our team is always ready to help you with any questions or concerns you may have. Just reach out to us, and we'll start the procurement negotiation process.
References
- Plumbing Installation Manuals
- Manufacturer's Instructions for Macerating Pumps