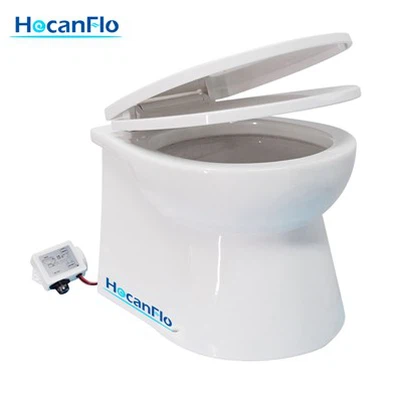
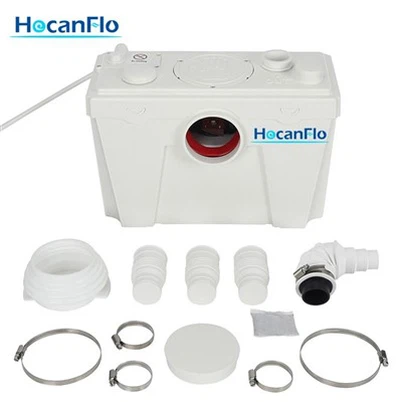
How to test a marine toilet after installation?
Leave a message

So, you've just installed a marine toilet on your boat, and now you're wondering how to make sure it's working properly. Well, you've come to the right place! As a marine toilet supplier, I've seen it all, and I'm here to walk you through the testing process.
Pre - test Checks
Before you start the actual testing, there are a few things you need to do. First, make sure all the connections are tight. Loose connections can lead to leaks, which are not only a hassle to clean up but can also cause damage to your boat over time. Check the water supply line, the discharge hose, and any electrical connections if it's an Electric Marine Toilet.
Next, take a good look at the toilet itself. Make sure there are no visible cracks or damages. Even a small crack can cause problems down the line, so it's better to catch it early. Also, check the seals around the toilet bowl and the base. If the seals are not in good condition, water can seep out and cause a mess.
Water Supply Test
The first step in testing your marine toilet is to test the water supply. If it's a manual toilet, you'll need to fill the water tank and see if water flows properly into the bowl when you operate the flush mechanism. Make sure the water level in the bowl rises to the appropriate level after each flush.
For 12v Electric Marine Toilet or 12v Marine Toilet, connect the power source and turn it on. Then, try a few flushes. You should hear the pump working and see water flowing into the bowl. If you don't hear the pump or if the water flow is weak, there might be an issue with the pump or the water intake. Check for any blockages in the water intake hose and make sure the pump is getting power.
Flushing Performance
Now that the water supply is working, it's time to test the flushing performance. Put a small amount of toilet paper or a similar soft material into the bowl. Then, flush the toilet. The material should be easily flushed away. If it gets stuck or if the flush is weak, there could be a problem with the macerator (if it's a 12v Macerator Toilet or 500Watt Macerating Toilet) or the discharge system.
Check the discharge hose to see if the waste is being properly ejected. If there's a blockage in the hose, the waste won't be able to flow out, and you'll have a backup in the bowl. You can try using a plumbing snake to clear any blockages if you suspect there are some.
Leak Test
A leak test is crucial to ensure that your marine toilet doesn't cause any water damage to your boat. After a few flushes, check all the connections and the base of the toilet for any signs of water leakage. Look under the toilet, around the water supply line, and along the discharge hose. Even a small drip can turn into a big problem over time, so it's important to address any leaks immediately.
You can also use a dye test to check for hidden leaks. Add a few drops of food coloring to the water in the holding tank. Then, let the toilet sit for a while and check for any signs of the dye around the toilet or the connections. If you see the dye, there's a leak that needs to be fixed.
Odor Check
One of the biggest concerns with marine toilets is odor. After you've completed the flushing and leak tests, take a good sniff around the toilet area. There should be minimal to no odor. If you smell a strong sewage odor, there could be a problem with the ventilation system.
Most marine toilets have a ventilation pipe that helps to remove odors. Make sure the ventilation pipe is properly connected and not blocked. You can also check the holding tank vent for any blockages. Sometimes, debris or insects can block the vent, causing the odor to build up in the boat.
Electrical System (if applicable)
If your marine toilet is electric, you need to test the electrical system thoroughly. Check the power switch to make sure it's working properly. When you turn the switch on, the toilet should start up without any issues.
Also, check the wiring for any signs of damage or loose connections. Faulty wiring can not only cause the toilet to malfunction but also pose a safety hazard. If you're not comfortable working with electrical systems, it's best to call a professional.
Long - term Testing
After completing the initial tests, it's a good idea to use the marine toilet regularly for a few days to make sure it continues to work properly. Pay attention to any changes in performance, such as a decrease in water flow or a change in the flushing sound. These could be signs of a developing problem.
If you notice any issues during the long - term testing, don't hesitate to address them. You can contact the manufacturer's customer service or a professional marine technician for help.
Conclusion
Testing a marine toilet after installation is an important step to ensure its proper functioning and to avoid any future problems. By following the steps outlined above, you can make sure that your marine toilet is working as it should.
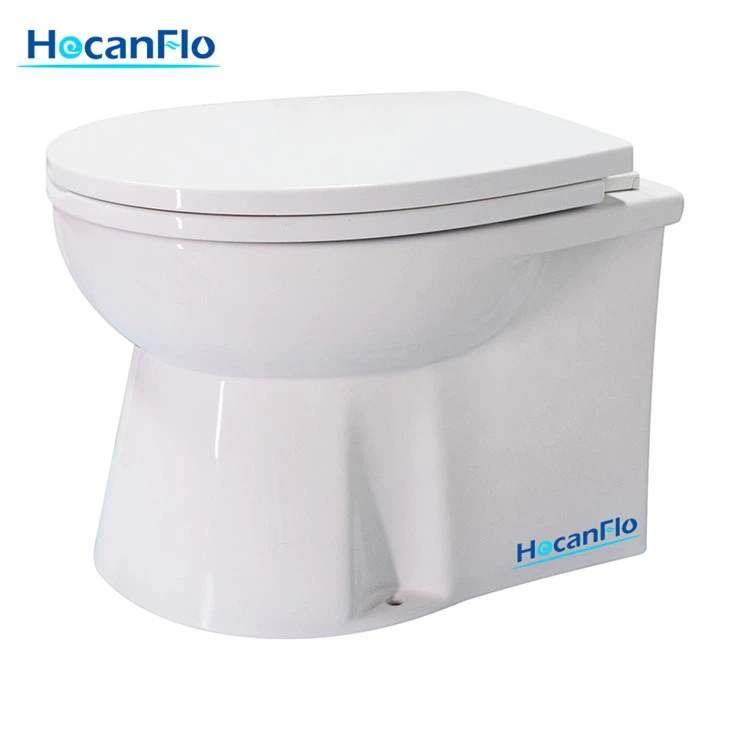

If you're in the market for a new marine toilet or have any questions about the testing process, feel free to reach out. We're here to help you find the best solution for your boating needs and ensure a hassle - free experience on the water. Whether you need advice on the right type of toilet or assistance with installation and testing, we've got you covered.
References
- Marine Toilet Installation and Maintenance Guides
- Industry Standards for Marine Sanitation Systems